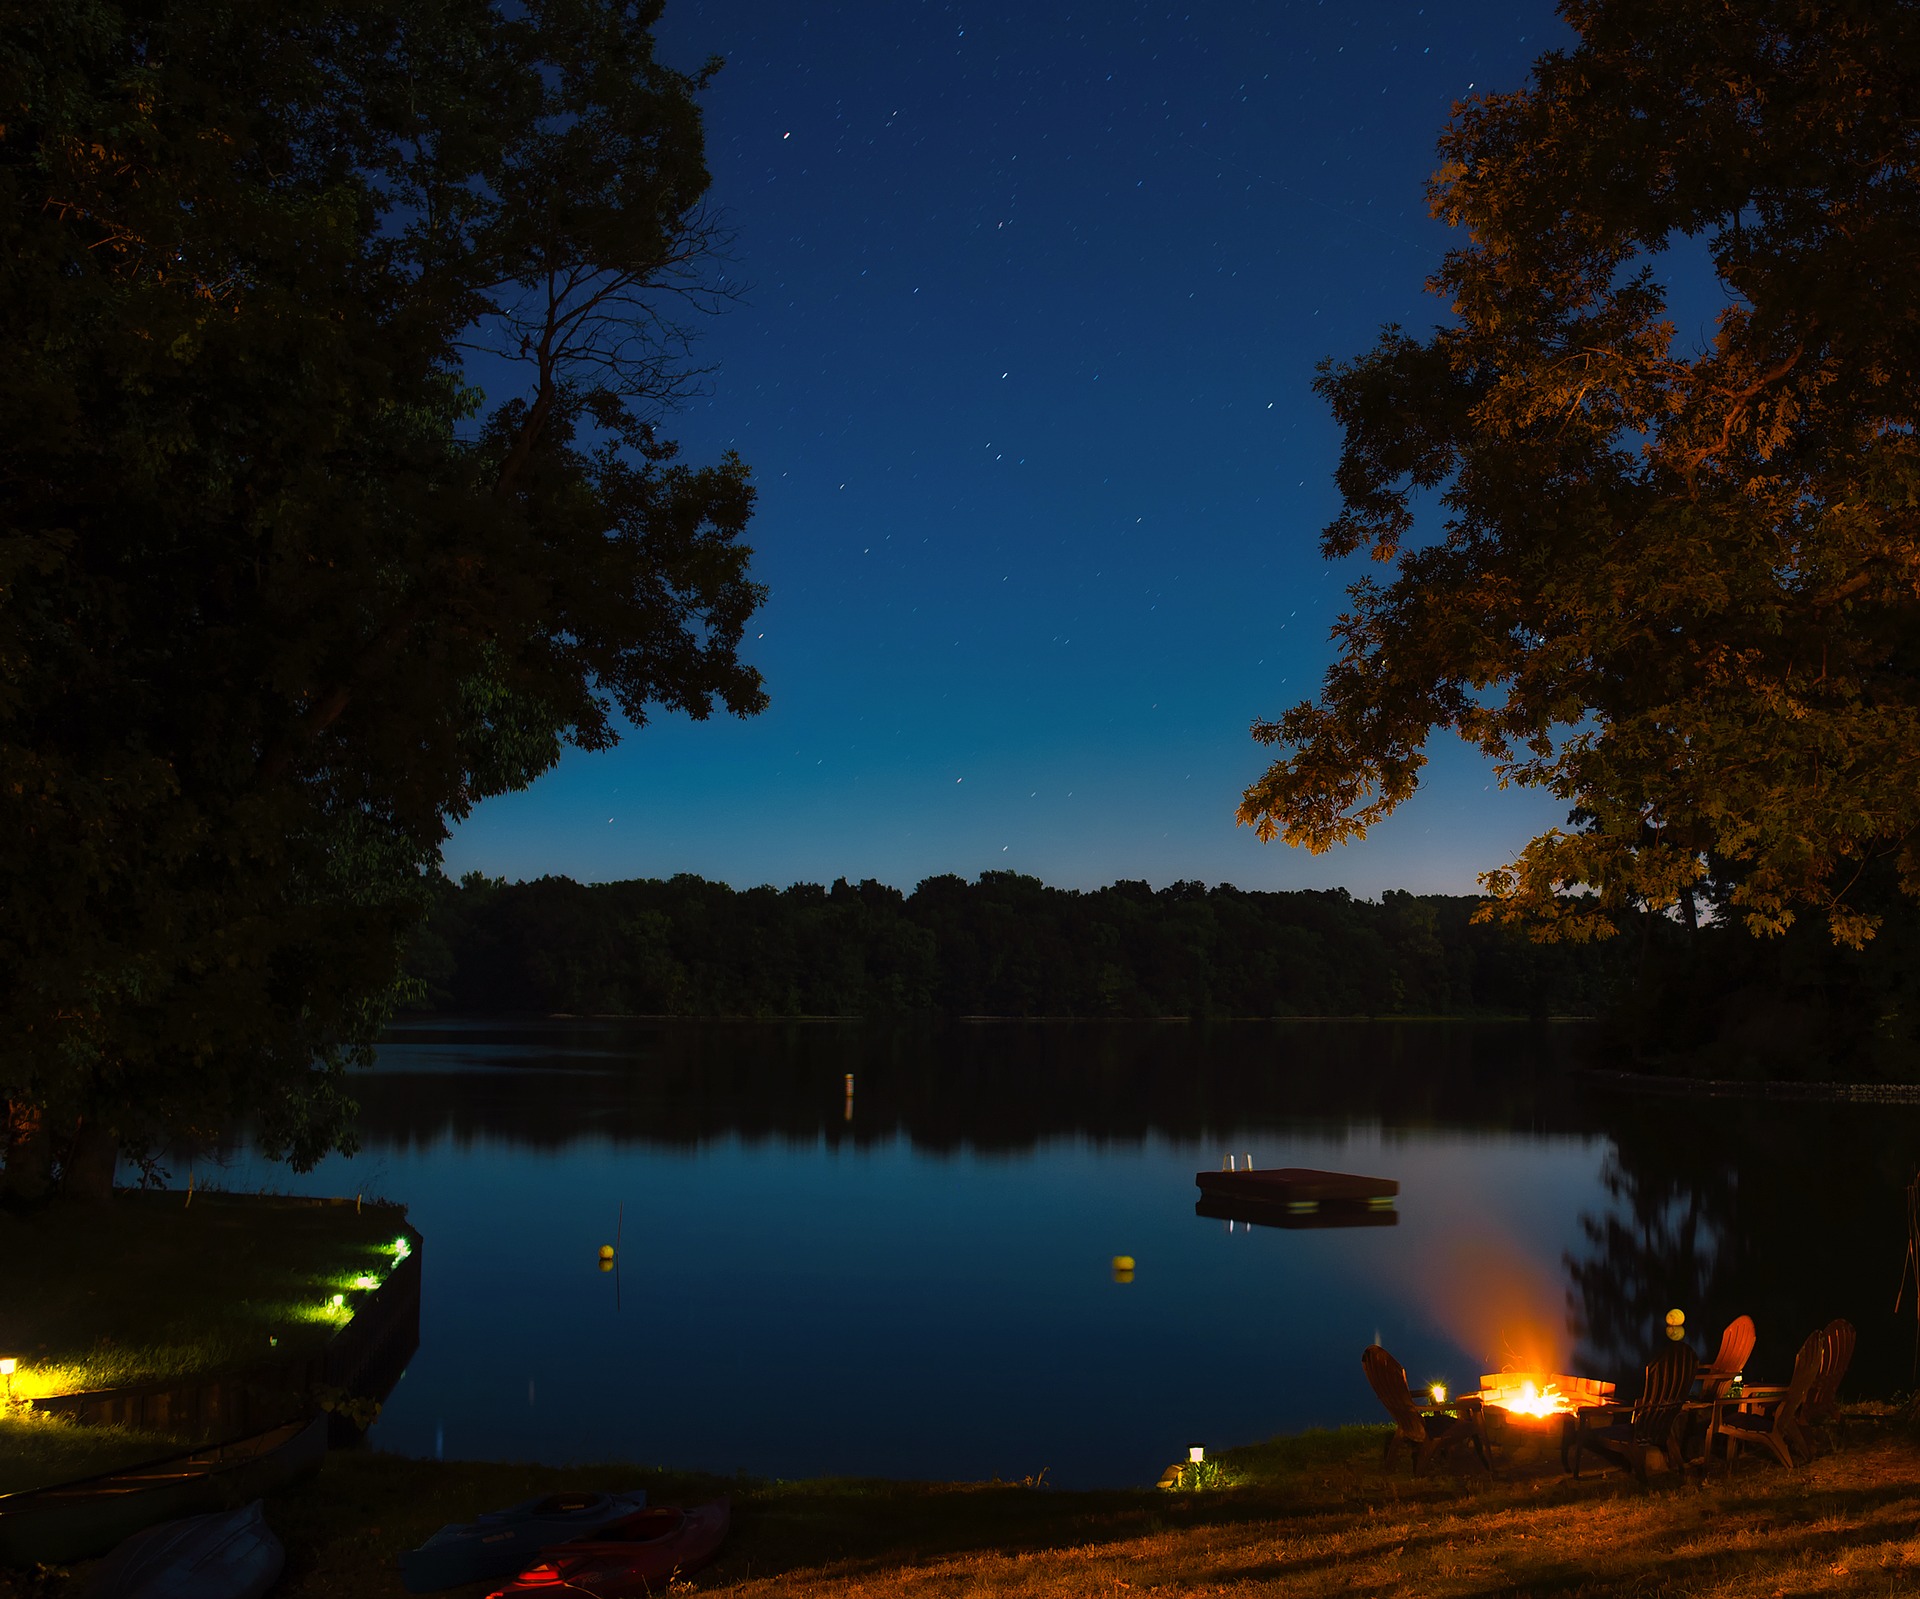
Where There’s Smoke…
It’s that time. You’ve been hiking all day, had a protein bar for lunch, and maybe you got rained on a bit. Camping is a fantastic activity with friends, family, or solo, but it’s never complete without the classic campfire.
Entire books have been written about how you can master this cornerstone of civilization, but today we’re going to stick to the basics to ensure you can relax, dry off, and cook some dinner.
The Spark
If you’re a smart hiker, you have probably shelled out a little cash for a commercially available Firestarter. The most popular are:
- Flint and Steel
- Spark Wheel style
- Magnesium blocks
- Your trusty BBQ or cigarette lighter
Many good fire starters also come in all-in-one mini survival kits. My old unit gave these out before a deployment to West Africa. I’ve been using it ever since.
Improvising
The previous step is an ideal world short of mother nature striking a tree branch with a bolt of lightning and just giving you some fire. Nothing beats being prepared from the get-go.
If for whatever reason you forgot to bring an easy fire starter, or you’re just a Bear Grylls style glutton for punishment, then there are several ways to start a fire without technology.
The method used most by different cultures throughout the developing world uses nothing more than two sticks and friction. Here’s how:
- Find two sticks made of softwoods like pine or cottonwood. Pine is easy to identify, but you should do some research on how to recognize the others. Make sure one stick is about twice the width of the other.
- Strip off the bark using your knife or a sharp stone (if your knife is with the fire starter you can’t find) and smooth the surface of the thinner stick the best you can to avoid blisters later.
- Allow both to dry in the sun on a rock for a few hours.
- Carve an indent in the larger stick accompanied by a small trench for the embers to slide out into your kindling.
- Place the end of the thinner stick into the indent and spin between your palms as if you’re trying to stay warm. Protip: if you have parachute cord or string, tightly tie the cord to the top of the thinner stick along with thumb loops at the end to prevent your palms from sliding down the stick over and over.
- Use speed and consistency rather than force to avoid developing blisters. Continue spinning until smoke rises from the trench without your help.
- Pour lit embers into your tinder. This is a very delicate step.
- Blow on the ember gently until it ignites the tinder.
Some variations on this method allow you to accomplish your spark with slightly less effort, albeit requiring more materials. This is the best video demonstration I have found of the previous technique.
If you have more cord you can make a small bow. Tie the cord to the ends of another stick as tight as possible then twist the tight cord around the spinning stick. Brace the top and push/pull the bow so that it spins the thin stick, allowing you to exert less energy with quicker results.
Fire needs heat, fuel, and oxygen to start and stay burning. We’ve taken care of our heat, now it’s time to talk about fuel. Let’s start with tinder (no, not that Tinder).
The Tinder/Kindling
Tinder is simply the most flammable material you can find with the intent of igniting your kindling and main source of fuel, which hopefully you have already gathered and set to the side. Some examples are:
- Really dry grass or straw bunched up into a “bird’s nest” form
- Chemical starters available everywhere
- Cotton balls saturated with petroleum jelly (my favorite because they weight almost nothing, catch instantly, and burn for several minutes, rain or shine)
Okay, you’ve got a little flame going. So far so good. Next step is to use that tinder to ignite your kindling, which is simply the smallest, driest sticks you can find built into a small cone shape or “teepee”. Remember we talked about Oxygen? Make sure to leave space for air to get in.

The Fuel
Nothing beats dry, split logs. So, having a camping hatchet or a really solid fixed blade knife really help. My Recon Tanto is solid enough to split a log by hitting it with another log without damaging the knife.
Stack your fuel sticks (about the width of your thumb) in a cone around your kindling to get it burning hotter. Then, you can either continue the cone stacking method, or you can switch to the log cabin.
The log cabin fire is simply stacking your logs and large branches in a square shape around the fire so once they catch, they will burn evenly and leave some gaps for air to flow in.
Safety
Needless to say, fire is dangerous to you and the environment around you, particularly in hot and dry countries such as when camping in Africa. A loose spark can set off a whole forest fire in dry conditions and you do not want to be responsible for that. Make sure to check your hiking route for burn bans. If there is one, bring a chemically fueled camping stove.
Encircle your fire with stones to prevent loose materials around it from igniting or damaging your equipment. Always keep water readily available to put the fire out.
When you’re done with your delightful inferno:
- Use a stick to break up the leftover logs
- Add half of your water to put out the flames and hot coals
- >Use the stick to stir the embers and dirt to expose any buried glowing coals
- Pour the rest of the water on the hot coals
- Stir again. Add some cold dirt if it is still smoking.
Now you (hopefully) have your fire and you are set for the night. It’s your best tool for camping and survival so long as you make it and use it safely. It will keep you alive and fed in dire situations, or comfortable during leisure camping. Respect it and it will serve you well.
Happy hiking.
Words by Bryan Bintliff. Bryan is currently working from a stunning location in Cambodia. A keen camper, Bryan has spent eight years in the Army and has travelled, hiked, and camped through both challenging and stunning locations.
< Back to guide list